Wednesday, November 14, 2012

Farmer's Union

The Sunrise Feedmill kit from Walthers is a nice little model, but is a bit long for my tiny pike, and I decided to leave the attached shed off. This posed a problem however: how to repurpose the shed, when the "common" wall was missing from it?

I took a piece of Evergreen styrene and fashioned an end for it recently, years after completing the original model (which has itself been recently updated, more on that later). However, you'll note that I did not do a separate piece of styrene for the foundation (didn't think it was that important at the time, and I'm still working on my scratch/kitbashing skills). I gave it some paint, some details and signs, and came up with the following. Not bad for a cast away piece of plastic, yes?

the chimney wasn't originally a chimney, but a vent of some sort

the dock and ramp were scratchbuilt, as you can tell....


Edit: I ended up tearing-off the roof on the white end, and gluing this back onto the main building.

The Mercantile

Wilhelmi's Mercantile is, I believe, the largest N scale building in DPM's roster, and a beast to paint.

This is a work in progress!

I've been experimenting on this one with lighting, much as I did my first Hilltowne Hotel kit.


Will take and post interior lighting pictures later tonight, after dark!

Casey's Bar & Grill

I started this kit a few weeks ago and then put it aside after installing an interior and bar scene. Not sure why I chose a bar, other  than because the kit looks like a bar. In any case, I went back to it last night, and started printing new signs and posters for the interior, and realized that I had to give it a name.

A friend of mine, Casey, loves her beer, and I've already set precedent by naming kits after friends (see Kathleen's Bookstore), and thus Casey's Bar & Grill was created!


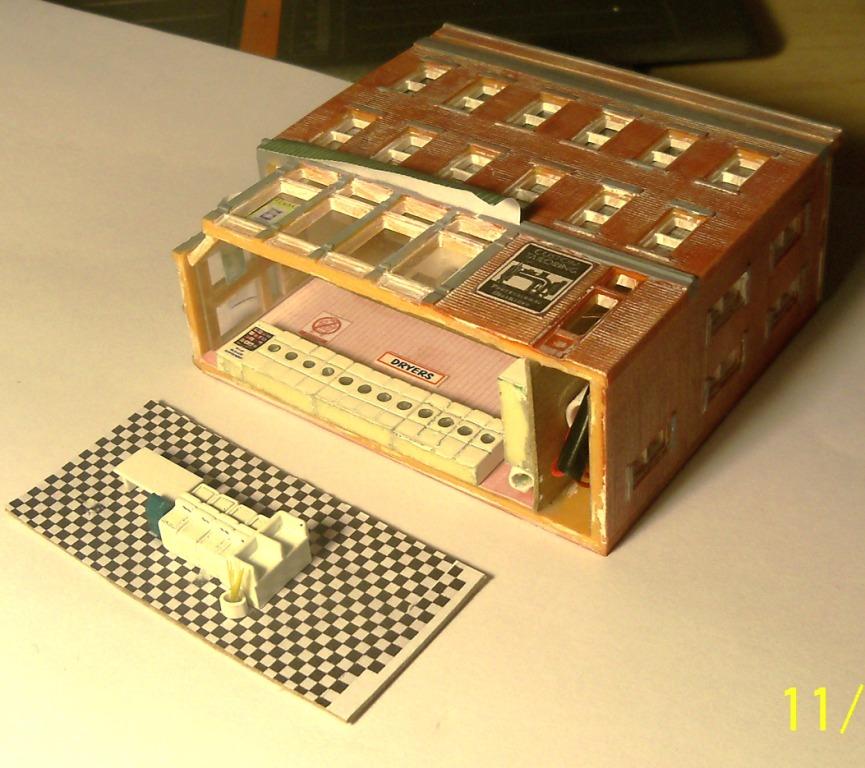
note: the thumb is not included with this model


the bar scene inside is a bit out of scale, but that's ok
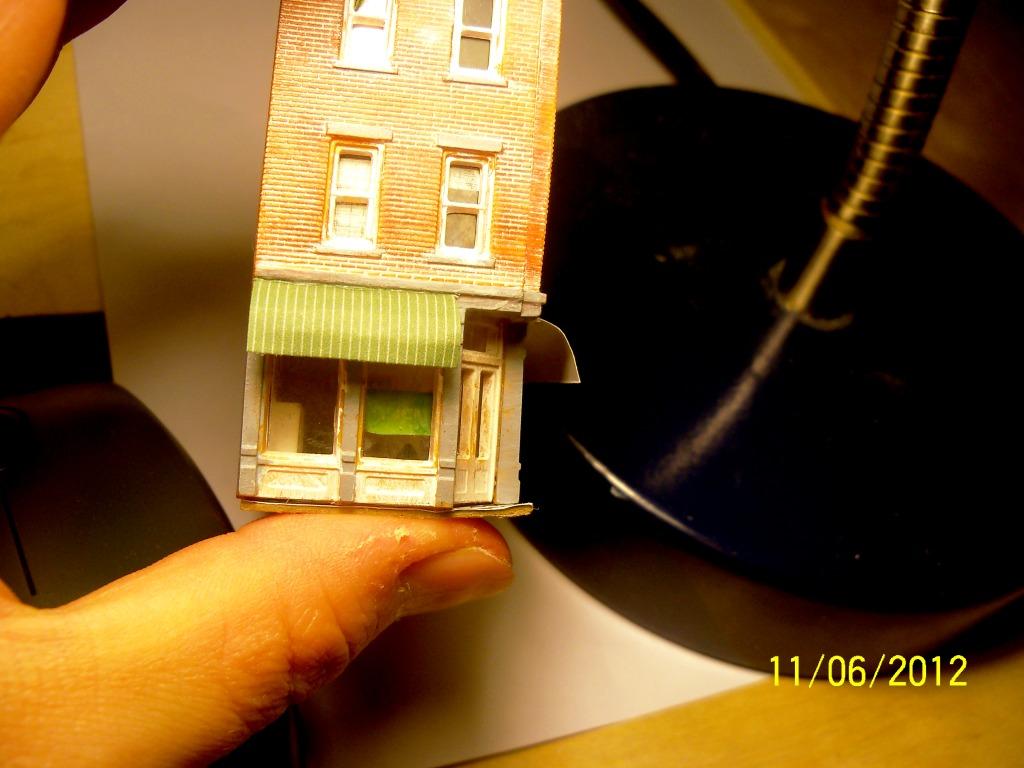
**You may note that this model is missing a front door. It is currently drying from having "glass" attached, then it will be appropriately painted and installed. Ok, so I probably should have painted first. I'll upload a new picture or two of the storefront with the door installed once it is completed sometime later today!

Angie's Diner

I was working on this model well-after the rest of the family had gone to bed; therefore, instead of printing new signs, I used some stock signage from a Walthers kit that I hadn't used.

The model has a rudimentary interior with checkerboard floor (same as the laundromat), and wallpaper along the wall facing the front.


In hindsight, now that I know this will be a diner, I'm going to put a second, maybe third vent further back onto the roof

Sunday, November 11, 2012

Laundromat Part 2

Finished a few details (cornice and roof trim for instance), and I think it's ready for sale on eBay!

There's no signature signage (such as "Eric's Laundromat" but I think that's something the buyer can contribute on their own), but if it doesn't sell this time around I'll add that.


Tuesday, November 6, 2012

Laundromat

This is a new project I've been working on; the picts have helped me see some detail work that still needs to be done, especially in painting and trim, and thus does not represent the finished product:

The above photo shows you a bit of the channel I made from a ballpoint pen tube for the grain of wheat bulbs and their wires. I'm not a fan of loose wires or bulbs, and have been trying to figure-out a good way to get these out of the way. I just need to learn now to put this detail in last, because it blocks access to everything above it.


needs some paint around the roof


needs some paint around window trim


Friday, November 2, 2012

Cabinet Ideas

This is a pretty decent picture of a concept I had a few years ago for a small N scale pike that would look good in a home environment.

In my case, I'd like the countertop where the trains would be built to be wider and longer however, something like 3x5 perhaps, with lighting built into the overhead cabinets and a drawer for the power supply and other electronics.


Had the idea to apply what little I know about Photoshop to this picture, to come up with this: